Sugar Cookie Decorating Kit: Top Techniques and Tools
1. Introduction to Sugar Cookie Decorating
Hello there! If you’re as enthusiastic about sugar cookies as I am, you’ve probably wondered how to take your decorating skills to the next level. Well, you’re in luck! Today, we’ll dive deep into the world of sugar cookie decorating kits. These kits are not just a collection of tools; they are your gateway to creating edible art. Whether you’re a novice looking to start or an experienced baker aiming to refine your craft, a good sugar cookie decorating kit can make all the difference.
2. Choosing the Right Sugar Cookie Decorating Kit
Selecting the ideal sugar cookie decorating kit is an exciting step towards enhancing your baking skills. Here’s how to ensure you pick the best kit that suits your needs, skill level, and creative aspirations:
Key Components to Consider:
- Quality of Tools: It’s crucial that the tools in your sugar cookie decorating kit are made from durable, food-safe materials. High-quality tools not only last longer but also provide a safer and more enjoyable baking experience. Look for stainless steel cookie cutters, silicone piping bags, and tips that won’t rust or deteriorate over time.
- Versatility: A versatile kit offers a range of tools that cater to both beginners and seasoned bakers. Ideally, your sugar cookie decorating kit should include:
- A variety of cookie cutter shapes and sizes to inspire creativity for any occasion, from holidays to everyday celebrations.
- Multiple piping tips for different icing techniques, whether you’re outlining, flooding, or adding detailed decorations.
- Stencils or templates that help achieve consistent and professional-looking designs, especially useful for thematic or intricate patterns.
- User Reviews: Never underestimate the power of reviews. Prior customers’ experiences can provide insight into the usability and reliability of a kit. Brands with positive reviews often deliver on their promises of quality and ease of use, making them a safer bet for your investment.
Essential Tools in Your Kit
A well-equipped sugar cookie decorating kit is your best ally in turning simple cookies into works of art. Here’s what every kit should include:
- Piping Bags and Tips: Essential for creating a range of designs, from simple dots and lines to complex lace patterns. Reusable piping bags and interchangeable tips offer flexibility and reduce waste.
- Cookie Cutters: The heart of any sugar cookie decorating kit. They come in various shapes and sizes, from classic circles and hearts to more novel designs like animals or thematic shapes specific to holidays or events.
- Stencils and Templates: These are fantastic for ensuring uniformity and precision in your designs. They are particularly useful when you’re making multiple cookies that need to look consistent, such as for a party or a gift set.
Selecting the Best Ingredients
The foundation of delicious sugar cookies lies in the quality of your ingredients. Here’s how to choose the best:
- Sugars: The choice of sugar can significantly affect the texture and flavor of your cookies. Fine granulated sugar or confectioners’ sugar is preferred for a smooth, melt-in-your-mouth texture. Confectioners’ sugar is also ideal for making a smooth icing.
- Flavors: Vanilla extract remains a staple due to its warm, rich flavor that enhances the sweet base of sugar cookies. However, don’t shy away from experimenting with other extracts like almond, which offers a nutty depth, or citrus extracts like lemon or orange for a fresh, zesty kick. These flavors can transform your cookie into a unique treat that stands out.
3. Step-by-Step Guide to Using Your Sugar Cookie Decorating Kit

Creating perfect sugar cookies is an art that begins with the right recipe and the proper tools from your sugar cookie decorating kit. Here’s a comprehensive guide to help you from start to finish, ensuring each cookie turns out just as delightful as you envision.
Preparing Your Dough
Ingredients
A standard sugar cookie recipe includes:
- 2 1/2 cups all-purpose flour
- 1 cup unsalted butter, softened
- 1 cup granulated sugar
- 1 egg
- 2 tsp vanilla extract
- 1/2 tsp salt
Instructions
- Mixing Ingredients: Start by creaming the softened butter and granulated sugar together in a large bowl until the mixture is light and fluffy. This introduces air into the butter, making your cookies light. Crack the egg into the mixture, add vanilla extract, and continue to beat until fully integrated.
- Incorporating Dry Ingredients: Gradually add the flour mixed with salt to your creamy mixture. The key here is to mix until just combined, which prevents the dough from getting tough.
- Chilling the Dough: Wrap your dough tightly in plastic wrap and refrigerate for at least one hour. Chilling is crucial as it helps the fats in the dough firm up, reducing spreading during baking and making the dough easier to handle and shape.
Rolling and Cutting the Dough
- Preparing for Rolling: Once chilled, remove the dough from the refrigerator and let it sit at room temperature for about 10 minutes. Lightly flour your rolling surface and rolling pin to prevent sticking.
- Rolling the Dough: Roll the dough out to about 1/4 inch thickness for a nice balance between structural integrity and tenderness. Ensure even thickness by frequently lifting and turning the dough as you roll.
- Cutting Shapes: Use the various cookie cutters from your sugar cookie decorating kit to cut out shapes. Gently transfer these shapes onto a baking sheet lined with parchment paper, spacing them about 1 inch apart to allow for slight expansion.
Baking Perfect Sugar Cookies
- Preheating the Oven: Preheat your oven to 350°F (175°C). A properly heated oven is vital for evenly baked cookies.
- Baking Time: Place the baking sheet in the oven and bake for 8-10 minutes, or until the edges just start to turn a light golden color. The exact time can vary based on the size and thickness of your cookies.
- Cooling: After baking, let the cookies rest on the baking sheet for a few minutes before transferring them to a wire rack. This allows them to firm up enough to move without breaking.
Final Tips
- Consistency: For uniform baking and decorating, keep all your cookies the same thickness and size.
- Oven Hot Spots: Rotate your baking sheet halfway through the baking time if your oven has hot spots.
- Decorating: Allow your cookies to cool completely before beginning to decorate with icing, sprinkles, or any other decorations provided in your sugar cookie decorating kit.
4. Decorating Techniques
Mastering the art of sugar cookie decoration transforms simple baked goods into stunning edible creations. With your sugar cookie decorating kit, you have all the essentials to explore various techniques. Here’s how to get started and advance your skills:
Basic Piping Techniques
Piping is a fundamental skill that every cookie decorator should master. Here’s a step-by-step guide to basic piping techniques:
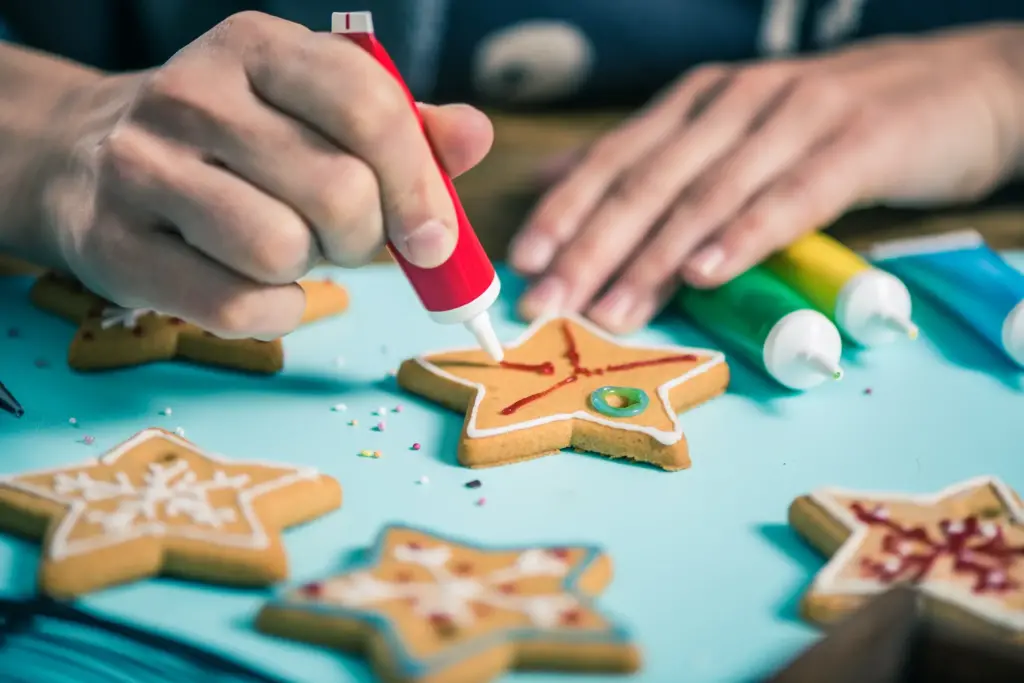
- Prepare Your Piping Bags and Tips: Fit a piping bag with your chosen tip. For outlines, a small round tip works best.
- Outline the Cookie: Start by outlining your cookie’s shape. This creates a barrier to contain the flood icing. Ensure the icing for outlining is firm to prevent it from spreading.
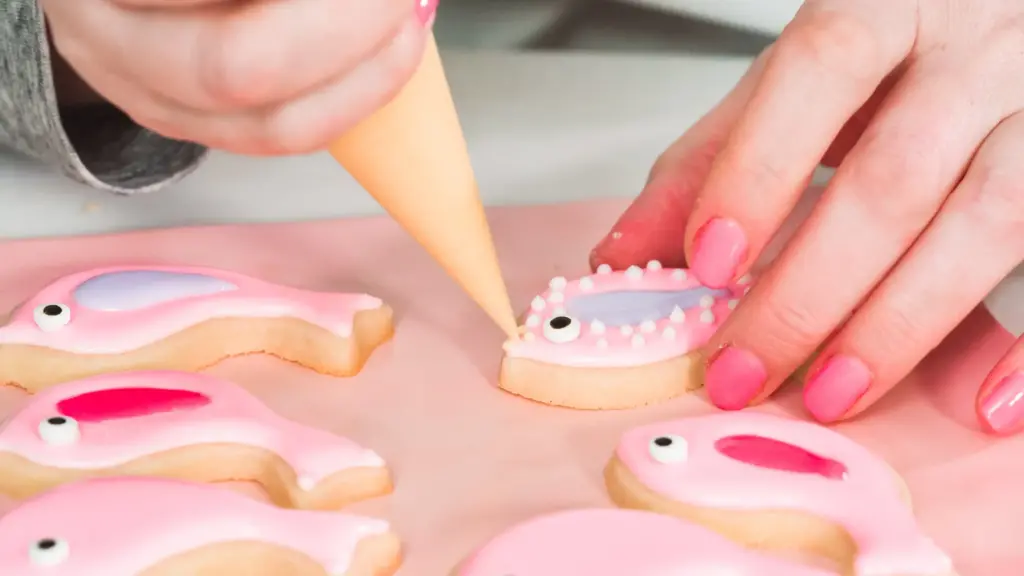
- Flooding: Once your outlines are set, it’s time to flood. This involves filling the inside of the outlined area with a thinner icing. Thin your icing with a few drops of water until it reaches a consistency that smoothly flows but still holds shape. Cut a small hole in your piping bag and gently squeeze to fill the outlined area, using a toothpick to guide the icing into tight corners and edges.
- Drying: Allow your outlined and flooded cookies to dry completely, which can take several hours depending on humidity.
How to Use Royal Icing
Royal icing is preferred for its smooth finish and hard-drying quality, making it ideal for stacking or transporting cookies. Here’s how to perfect your use of royal icing:
- Mixing the Icing: Combine powdered sugar, egg whites, and a few teaspoons of water to start. Mix at low speed until all ingredients are incorporated.
- Adjusting Consistency: For detailed piping, the icing should be thick enough to hold its shape. Add powdered sugar to thicken it if necessary. For flooding, add water little by little until the icing reaches a consistency that smoothly flows off a spoon but isn’t too runny.
- Coloring: If desired, add food coloring to your icing. Gel food coloring is preferable as it doesn’t affect the consistency as much as liquid dyes.
Advanced Decorating Tips: Textures and Patterns
Once you’re comfortable with basic techniques, experiment with textures and patterns to add depth and intrigue to your designs:
- Texturing with Tools: Use a toothpick or scribe tool to create marbling effects or to drag colors into patterns. While the icing is still wet, swirl through it with your tool to create designs.
- Stencils and Templates: Your sugar cookie decorating kit might include stencils which are fantastic for adding precise patterns like polka dots, stripes, or thematic designs. Place the stencil over the cookie, apply a thin layer of icing with a small offset spatula, and carefully remove the stencil.
- Brush Embroidery: This advanced technique involves painting with icing on the cookie to create a lace-like effect. Use a small brush and slightly stiffer royal icing to apply icing in a pattern, then use the brush to pull and drag the icing to thin it out and create a brushed effect.
5. Creative Ideas for Sugar Cookie Designs

Decorating sugar cookies is not just about adding a splash of icing; it’s an opportunity to unleash your creativity and transform simple cookies into stunning artworks. Whether you’re celebrating a holiday, a special occasion, or just want to make a personalized gift, your sugar cookie decorating kit provides all the tools you need. Here are some inspired design ideas to get you started:
Seasonal Designs
1. Christmas
- Snowflakes: Utilize fine-tip piping nozzles to create delicate, intricate snowflake patterns.
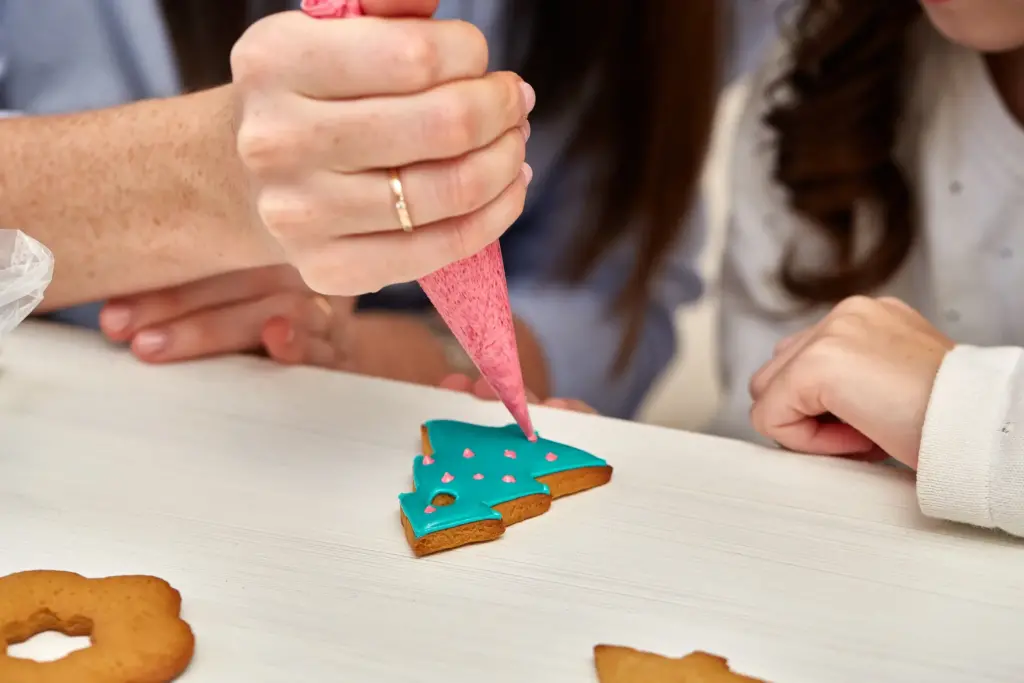
- Christmas Trees: Use various shades of green icing and add decorations like tiny ornaments or a star on top.
- Reindeer: Chocolate icing can give a perfect finish to reindeer cookies, complete with pretzel pieces for antlers.
2. Halloween
- Ghosts: Simple white icing and black dots for eyes can create cute or spooky ghost cookies.
- Pumpkins: Orange icing with piped lines mimicking a pumpkin’s ridges and a small green stalk.
- Spooky Bats: Black or dark purple icing with flared wings and red icing for eyes.
3. Easter
- Eggs: Multi-colored stripes, polka dots, or marbled effects using pastel colors.
- Bunnies: White icing with detailed pink ears and a small fluffy tail.
- Carrots: Orange icing for the carrot with a little green icing on top for the leaves.
Celebrations
1. Birthdays
- Custom Names and Ages: Use stencil cut-outs or freehand piping to add personalization.
- Favorite Colors: Ask what the birthday person’s favorite colors are and incorporate those into the designs.
2. Weddings
- Wedding Cakes: Miniature tiered cake cookies decorated with tiny flowers and pearls.
- Hearts and Doves: Symbolic designs using soft whites, pinks, or any theme-specific colors.
3. Baby Showers
- Bottles and Carriages: Soft pastel icing colors with detailed outlines.
- Cute Animal Faces: Think of gentle colors and designs like little ducks, lambs, or teddy bears.
Personalized Cookies for Gifts and Special Occasions
Personalized cookies are thoughtful and cherished gifts that express uniqueness and care. Here’s how you can personalize your cookies:
- Initials and Dates: Ideal for anniversaries or special personal milestones, use precise piping to add a sophisticated touch.
- Portrait Stencils: For a truly unique cookie, create or order a custom stencil that resembles a person or their favorite pet.
- Custom Messages: “Thank You”, “Get Well Soon”, or “Congratulations” messages on cookies make them special for the recipient.
6. Maintenance and Care of Your Decorating Tools from the Sugar Cookie Decorating Kit
Proper maintenance and care of your sugar cookie decorating tools are essential to ensure they remain in good condition and continue to perform at their best. Here are detailed steps and tips on how to clean, store, replace, and upgrade the components of your sugar cookie decorating kit, ensuring longevity and quality in all your decorating endeavors.
Cleaning and Storing Your Tools
To keep your sugar cookie decorating kit in top shape, follow these cleaning and storage guidelines:
Cleaning Process:
- Immediate Cleaning: Always wash the tools immediately after use to prevent icing or dough from hardening, which can make it more difficult to clean later.
- Soapy Water: Use warm, soapy water to clean your tools. This will help dissolve any sugar or fat residues. For tools with intricate designs or small holes, like piping tips, use a specialized brush or a pin to remove any clogged icing.
- Rinse Thoroughly: Make sure all soap residues are rinsed off with clean water to avoid any potential contamination or flavor transfer next time you use them.
Drying and Storage:
- Air Dry: Allow all components to air dry completely on a drying rack to prevent any moisture from causing rust or mold, particularly with metal tools.
- Proper Storage: Store your tools in a clean, dry place. Keeping them in airtight containers or dedicated drawers can protect them from dust and damage. For sharp tools like cutters, wrap them in a soft cloth to prevent them from causing any harm or getting damaged.
Replacing and Upgrading Components
To maintain the efficiency and effectiveness of your sugar cookie decorating kit, regularly check and update your tools:
Regular Inspection:
- Check for Wear and Tear: Inspect your tools for any signs of damage or wear. Look for bent or dull edges on cutters, tears in silicone bags, or rust on any metal parts.
- Clogged Tips: For piping tips that get clogged frequently, soaking them in warm vinegar can help dissolve stubborn clogs. If they remain blocked, consider replacing them.
Upgrading Your Kit:
- Invest in Quality: When replacing parts of your kit, choose high-quality replacements that will last longer and perform better. This might mean opting for stainless steel cutters or silicone piping bags over cheaper alternatives.
- New Tools for Inspiration: Adding new tools to your kit can also spark creativity. New cutter shapes, stencil designs, or specialized decorating tools like airbrush kits can expand your decorating capabilities and inspire new ideas.
Seasonal Maintenance:
- Annual Checkup: Give your kit a thorough checkup at least once a year. Before big baking seasons like Christmas or Easter, ensure all your tools are clean, functional, and ready to create those perfect cookies.
7. Troubleshooting Common Issues with Your Sugar Cookie Decorating Kit

Even the most seasoned bakers can run into issues when decorating sugar cookies. Understanding how to quickly troubleshoot common problems will ensure your baking sessions are both productive and enjoyable. Here’s how to address some typical challenges you might face using your sugar cookie decorating kit.
Handling Icing Consistency Problems
Icing is a critical component in cookie decoration, and getting the consistency right is paramount. Here’s how to adjust it to achieve the perfect texture for different decorating techniques:
Adjusting Icing Consistency:
- Too Thick: If the icing is too thick, it can be difficult to pipe and may not spread smoothly. To thin it, add water a few drops at a time, mixing thoroughly after each addition, until you achieve the desired consistency.
- Too Thin: Thin icing tends to run off the edges of your cookies or doesn’t hold its shape well. To thicken it, gradually mix in small amounts of powdered sugar until it reaches a stiffer, more controllable consistency.
- Testing Consistency: Use the “10-second rule” for flood icing – drag a knife through the surface of the icing and count how many seconds it takes for the line to disappear. The ideal is about 10 seconds. If the line disappears too quickly, your icing is too thin; if it takes longer, it’s too thick.
Cookie Shape and Baking Issues
Problems with cookie shape and baking are common, but with a few adjustments, you can achieve perfectly shaped and evenly baked cookies every time.
Preventing Spreading:
- Chill the Dough: Make sure your dough is sufficiently chilled. This helps to prevent the cookies from spreading out too much during baking. Aim for at least one hour in the refrigerator, but for best results, consider chilling overnight.
- Check Your Ingredients: Incorrect measurements, particularly too much sugar or butter, can cause cookies to spread. Ensure you measure your ingredients accurately.
Maintaining Shape:
- Oven Temperature: An oven that’s not properly calibrated can lead to cookies that don’t hold their shape. Use an oven thermometer to check the accuracy of your oven’s settings.
- Avoid Opening the Oven: Frequent opening of the oven door can cause temperature fluctuations that affect how your cookies bake. Try to keep the door closed as much as possible during the baking process.
Even Baking:
- Use the Middle Rack: Position your baking sheet in the middle of the oven. This placement allows for even heat distribution and reduces the risk of cookies baking too quickly on the bottom or top.
- Rotate the Baking Sheet: Halfway through the baking time, rotate the sheet 180 degrees to address any uneven heating issues your oven may have.
8. Integrating Sugar Cookie Decorating into Various Events
Party Planning with Sugar Cookies
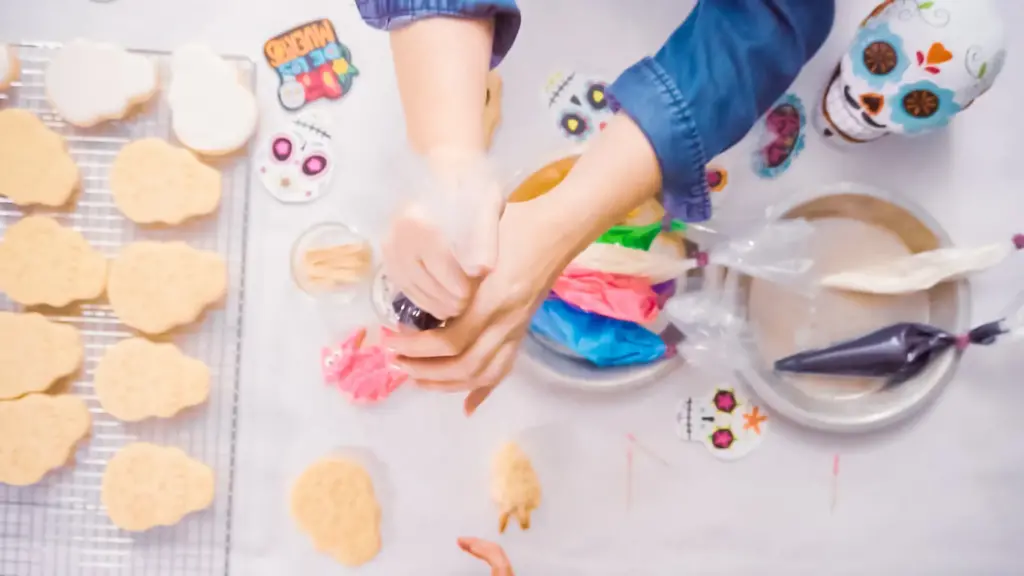
Sugar cookies are not just delicious; they’re also incredibly versatile. For your next party, consider a cookie decorating station where guests can decorate their own cookies. It’s fun, interactive, and works well for all ages.
Using Decorated Cookies as Event Favors
Decorated sugar cookies make delightful event favors. Customize them to fit the theme of your event, whether it’s a wedding, baby shower, or birthday party. They’re personal, edible, and a lovely takeaway for your guests.
9. Benefits of Decorating Sugar Cookies

Decorating sugar cookies with a sugar cookie decorating kit is not just a delightful activity; it offers numerous educational and therapeutic benefits. These benefits can enhance both personal growth and emotional well-being. Here’s a closer look at how cookie decorating can be more than just a fun pastime.
Educational Benefits for Children
Introducing children to the art of sugar cookie decorating can provide valuable learning experiences that extend beyond the kitchen. Here are some of the key educational benefits:
- Development of Fine Motor Skills: Handling small tools like piping bags, cookie cutters, and spatulas helps children develop fine motor control and hand-eye coordination.
- Boosts Creativity: Choosing colors, designing patterns, and deciding on themes allows children to express their creativity, which is crucial for cognitive development.
- Teaches Basic Math Skills: Measuring ingredients, counting cookies, and calculating portions involve basic math skills that are essential for young learners.
- Enhances Problem Solving: Deciding how to fix a misshapen cookie or how to ensure the icing stays within the borders helps children learn to think critically and solve problems.
- Encourages Follow-Through and Completion: Completing a cookie decorating project from start to finish teaches children the importance of following through on tasks to achieve a final product.
Therapeutic Benefits of Baking and Decorating
For both adults and children, the act of baking and decorating cookies can serve as a soothing and rewarding experience. Here’s how this simple activity can be therapeutic:
- Stress Reduction: The focused activity of decorating cookies can distract from everyday worries and reduce overall stress levels. The repetitive nature of tasks like mixing dough and piping icing can be particularly calming.
- Improves Focus and Concentration: Decorating cookies requires attention to detail, which can help improve concentration levels. This is beneficial for individuals who struggle with focus in other areas of life.
- Sense of Accomplishment: Completing a baking project, especially one as visually rewarding as cookie decorating, can enhance feelings of accomplishment and boost self-esteem.
- Enhances Mood: The pleasure of creating something beautiful and sharing it with others can significantly lift spirits and improve overall mood.
- Mindfulness Practice: The precise and mindful actions required in cookie decorating can serve as a form of mindfulness practice, which is known to reduce symptoms of anxiety and depression.
10. Resources and Community Engagement
Books and Online Resources
There are numerous books and online tutorials available for those looking to improve their cookie decorating skills. Look for ones with step-by-step instructions and photos for guidance.
Joining Communities and Classes
Consider joining a baking club or attending cookie decorating workshops. These are great ways to learn new techniques and connect with others who share your passion.
11. Future Trends in Cookie Decorating
Upcoming Trends and Techniques
Stay ahead of the curve by keeping an eye on new decorating trends and techniques. Edible metallic paint, 3D cookie structures, and vegan icing options are just a few of the innovations gaining popularity.
Innovations in Cookie Decoration
Technology is also making its mark on baking. From 3D printed cookie cutters to digital design templates for icing, the possibilities are endless. Embrace these tools to take your decorating to the next level.
12. Conclusion
In wrapping up, whether you’re a seasoned baker or just starting out, the right sugar cookie decorating kit can greatly enhance your baking and decorating journey. With the tips and techniques we’ve explored today, you’re well-equipped to create stunning, delicious treats that can dazzle at any event. Remember, the key to mastering cookie decorating is practice, creativity, and a lot of fun!
13. FAQs
- What is the best thickness for sugar cookie dough?
Aim for about 1/4 inch thickness. This ensures your cookies are sturdy enough for decorating but not too thick to enjoy. - How long can decorated sugar cookies be stored?
Decorated sugar cookies can last up to 1 week when stored in an airtight container at room temperature. - Can sugar cookies be frozen for later use?
Yes, both the dough and baked undecorated cookies can be frozen. Wrap tightly in plastic wrap and they’ll be good for up to 3 months. - What’s the quickest way to improve my cookie decorating skills?
Practice consistently and don’t be afraid to experiment with different techniques. Watching tutorials and taking classes can also help speed up your learning curve. - Are there any alternatives to royal icing for decorating?
Yes, you can use fondant, marzipan, or even a simple glaze depending on the effect and taste you desire. Each has unique properties that can enhance your decorating style.
Resources
- https://explore3dprint.com/best-3d-printer-for-beginners/
- https://www.quora.com/What-is-the-best-thickness-for-sugar-cookies


